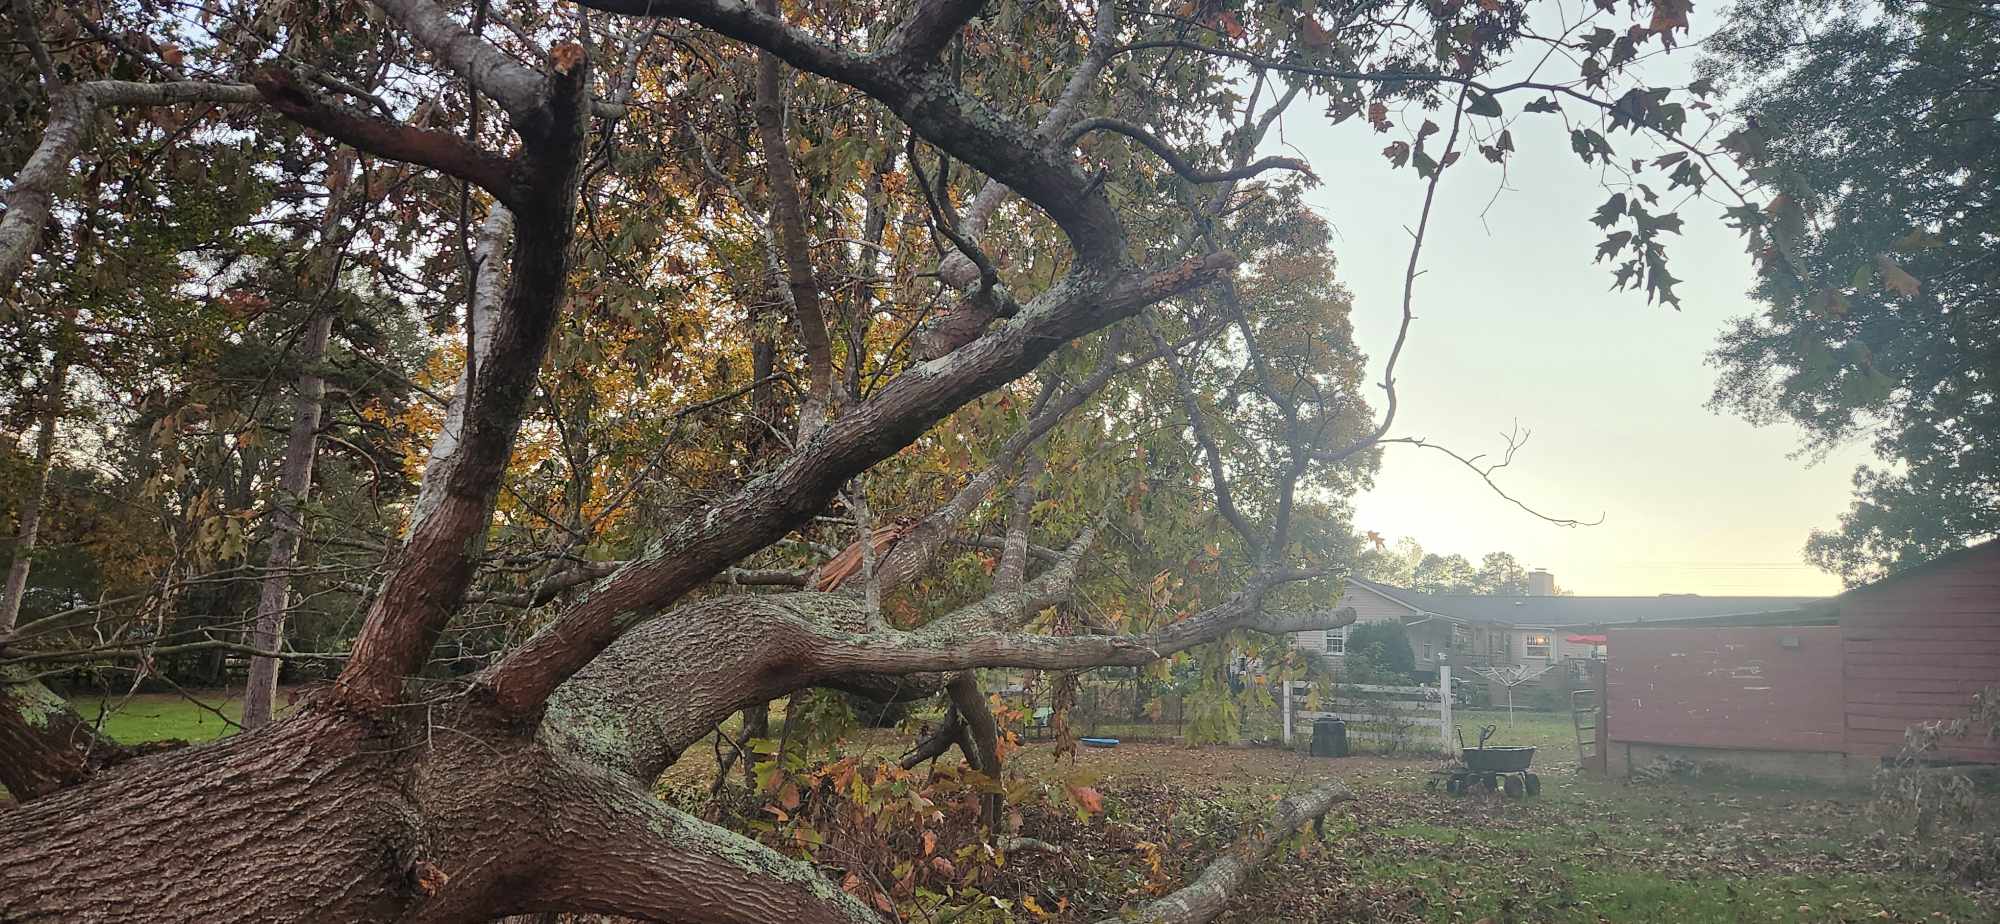
Last summer we bought the farm.

I’m not kidding. And after we moved in, we set about utilizing the many opportunities that come from having acreage. Now here we are nine months later and we now have a dozen chickens, we’re looking for honey bees, and we’d like to get something a little larger next year, such as a couple of alpacas.

Yet I’ve been very happy to wrangle some of our farm’s tiniest inhabitants, its wild yeast.
In case you didn’t know, yeast is a single-cell plant and it is literally everywhere. Although it can be found on your grocery store’s shelf, it can also be found on the leaves of your plants, the dirt in your yard, in your armpits, or under your toenails. However, once yeast gets into a warm, moist environment and has access to food (carbohydrates), that’s when the fun starts. As yeast dissolves carbohydrates, such as sugar, flour, grains, etc., it produces alcohol and carbon dioxide. And that gas, CO2, is responsible for so many wonderful things and yet we often take it for granted. Just for starters (baker’s joke), yeast and/or bacterial fermentation is responsible for beer, wine, Kimchee, coffee, chocolate, pickles, champagne, sauerkraut, yogurt, vinegar, and bread.
And that’s why I despise those hand sanitizers that confront us at every grocery store, bank, or doctor’s office. Our bodies are covered in bacteria and most of that is good bacteria. We need the good stuff to keep the bad stuff in check. And those sanitizers kill everything they touch which leaves the door open for the bad bacteria to reproduce and consequently leave us vulnerable to infection.
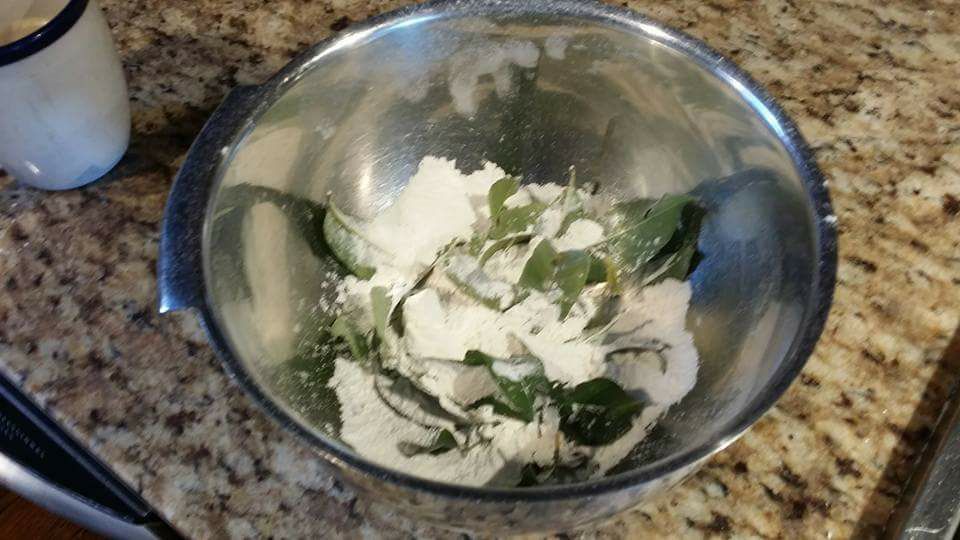
So back to yeast and our farm. We have a peach tree. And back in the fall I removed several dozen leaves and placed them in a bowl of flour. They stayed like that for 48 hours and every time I went into the kitchen, I shook that bowl. That process dislodged the wild yeast from the leaves and deposited them into the flour. Then I removed the leaves, covered the flour with water, stirred in some of my neighbor’s honey, left the bowl on the counter, and waited.
In about five days I had a bubbling, oozy stew. Sourdough starter. And for hundreds of years this is how bread was made. For many generations, from American cowboys to ancient Egyptian bakers, sourdough starters were created in this manner then carefully protected and carried across continents or across town. That commercial yeast in the little yellow packet has only been around for about 75 years.
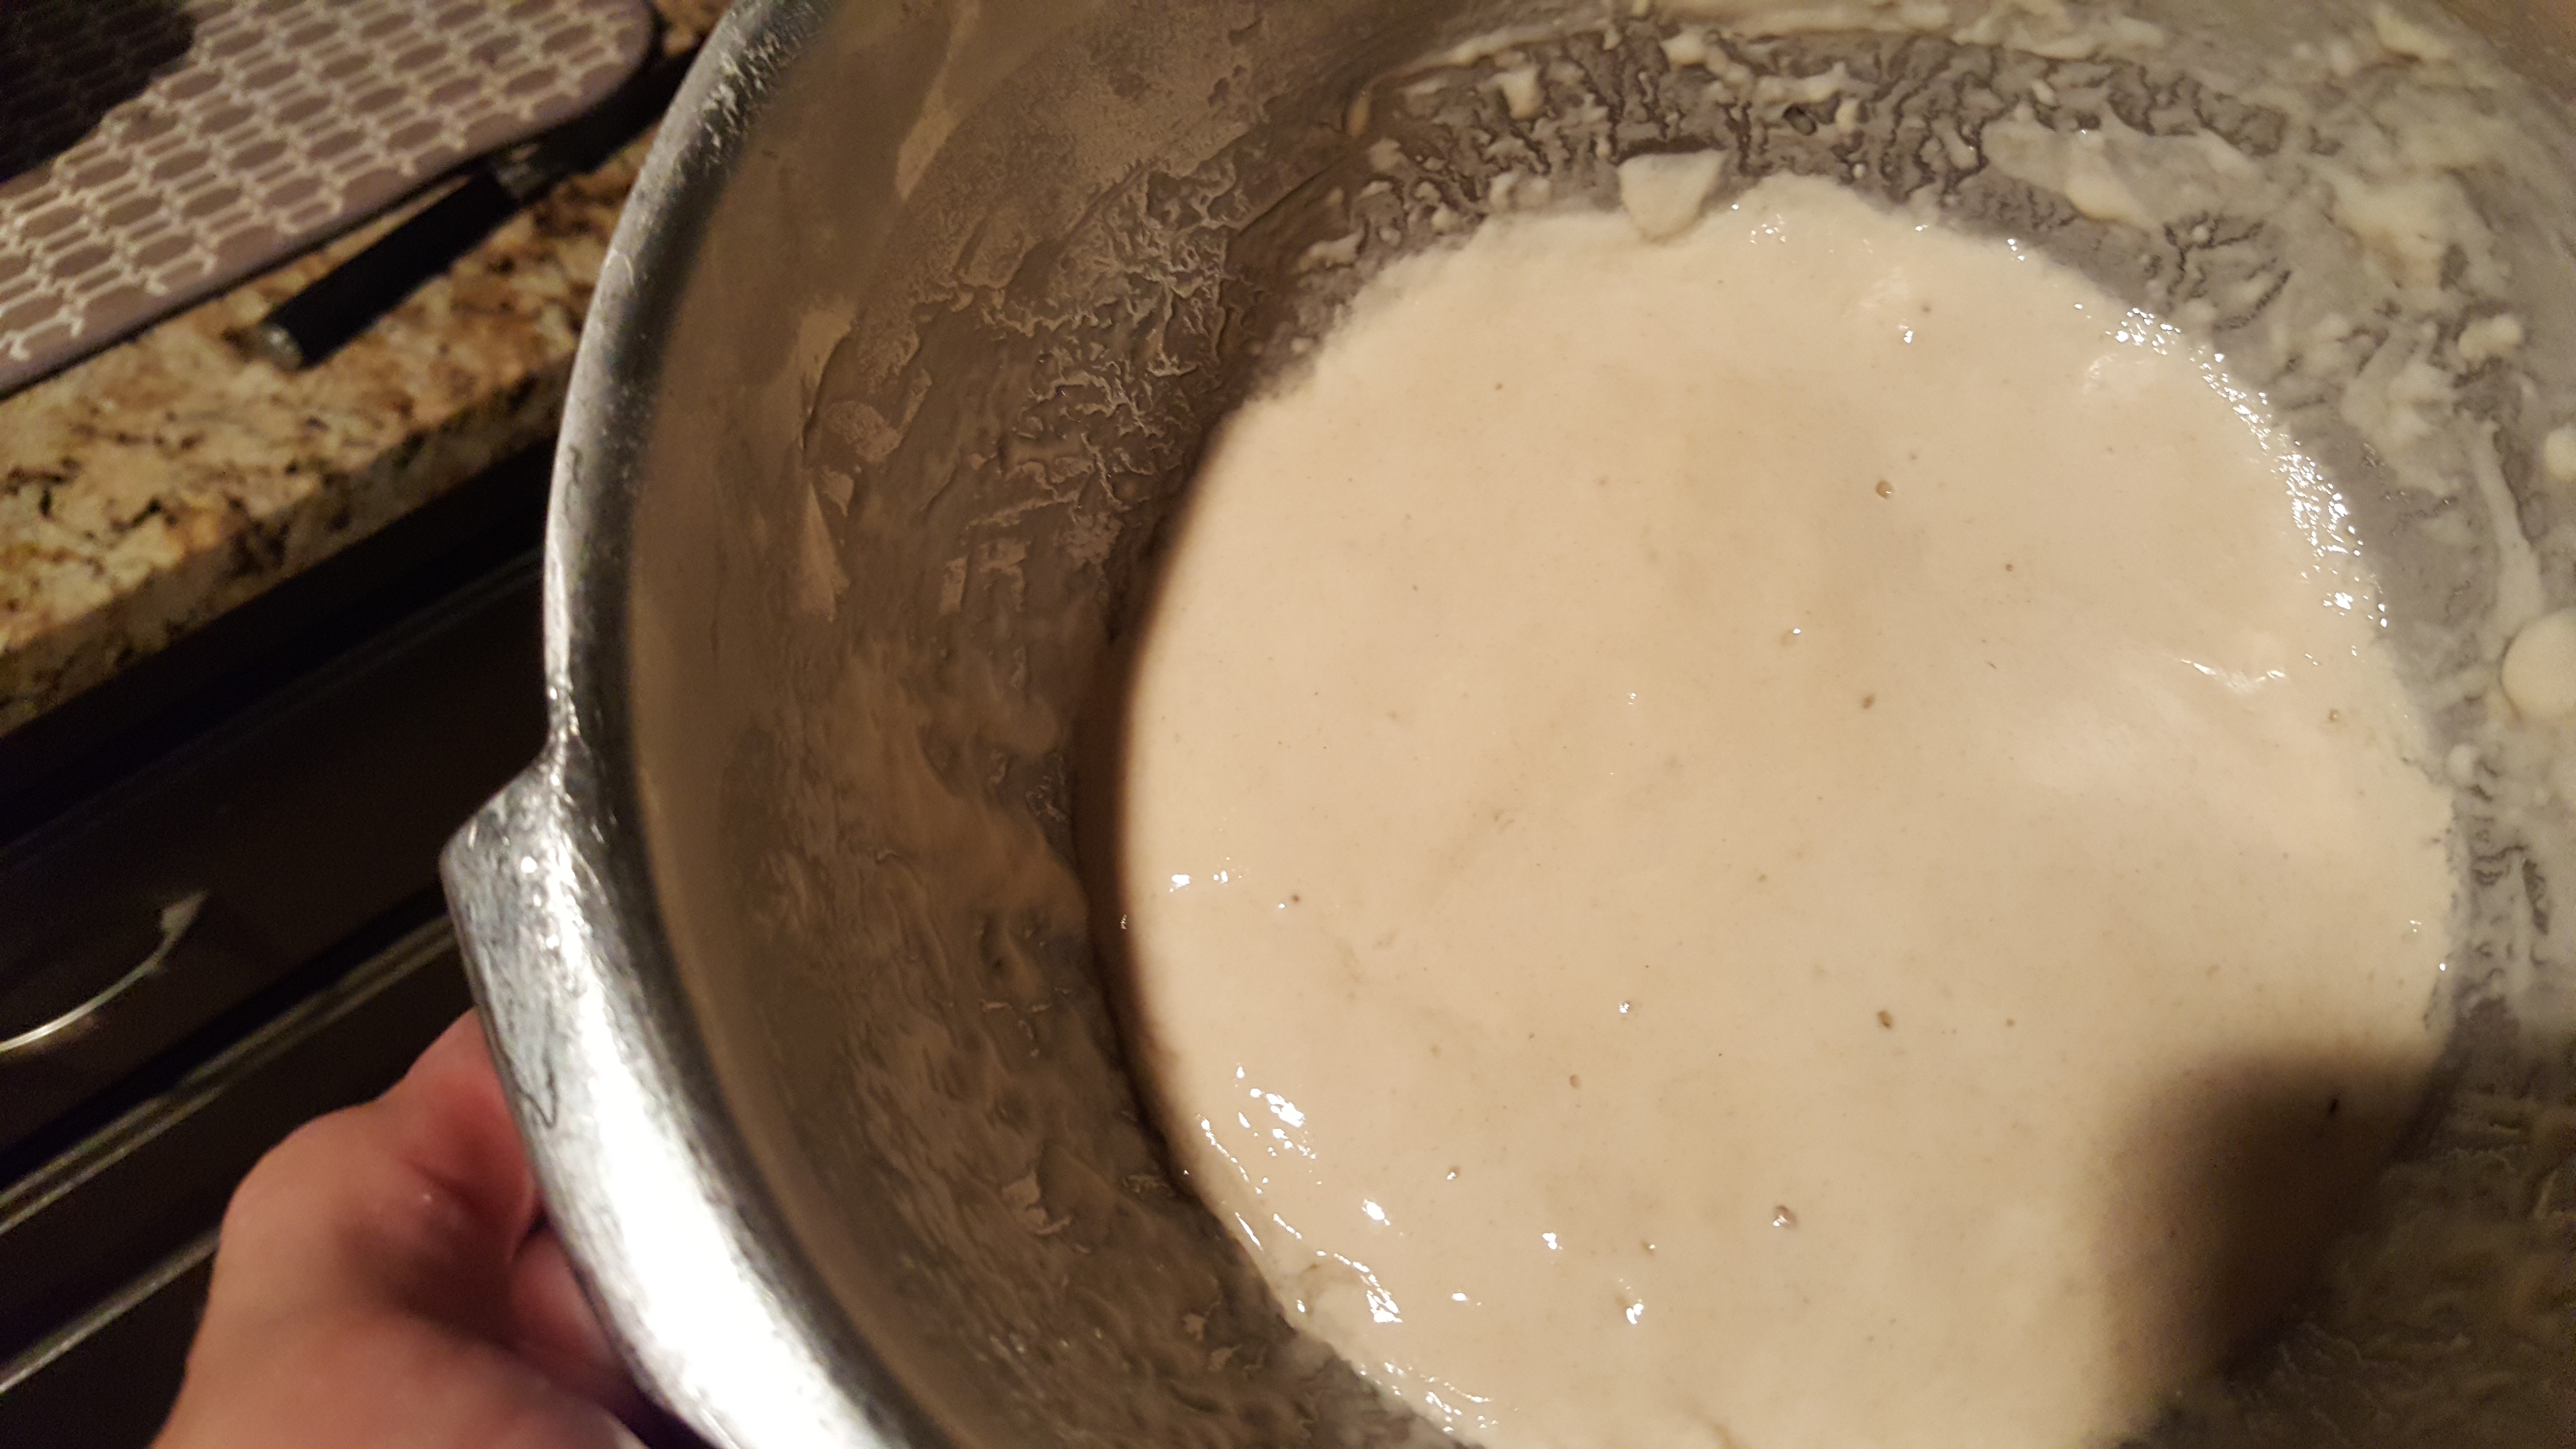
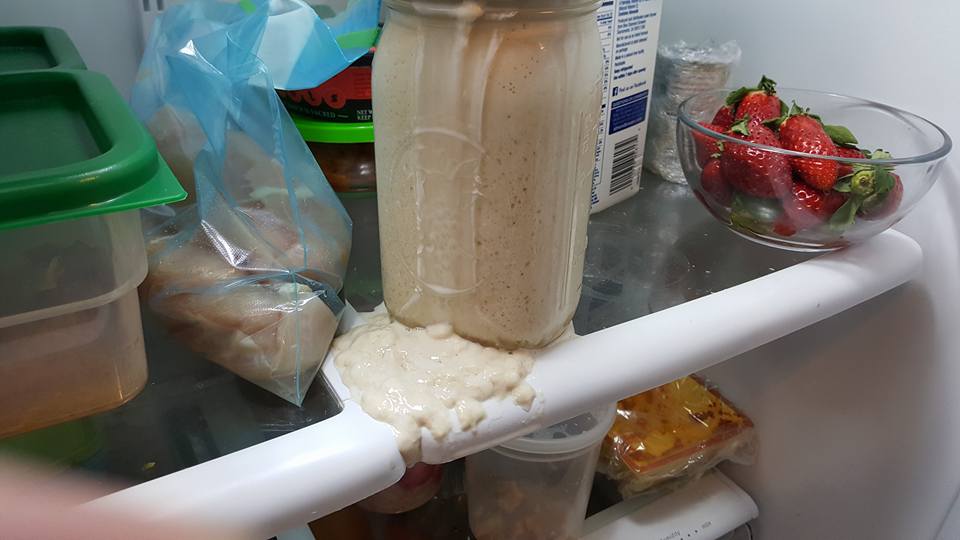
Now that you’ve created a sourdough starter, you’ve got to care for it. First, keep it in a large jar, much larger than you need. Because one day it’s going to go mad and produce enough CO2 to spew a sticky morass all over your refrigerator. And if it’s in a small glass jar, it just might blow up that jar exercising its desire to travel. Second, it needs to be fed often. Much like a teenager, your starter will become sullen and mopey if it isn’t fed. So a couple of times a week it’ll need a few tablespoons of flour and water. If you’re going to make bread, it’s ideal to feed your starter the day before so it’s quite active. And if you make bread on a regular basis, you’ll need to feed this starter more often.
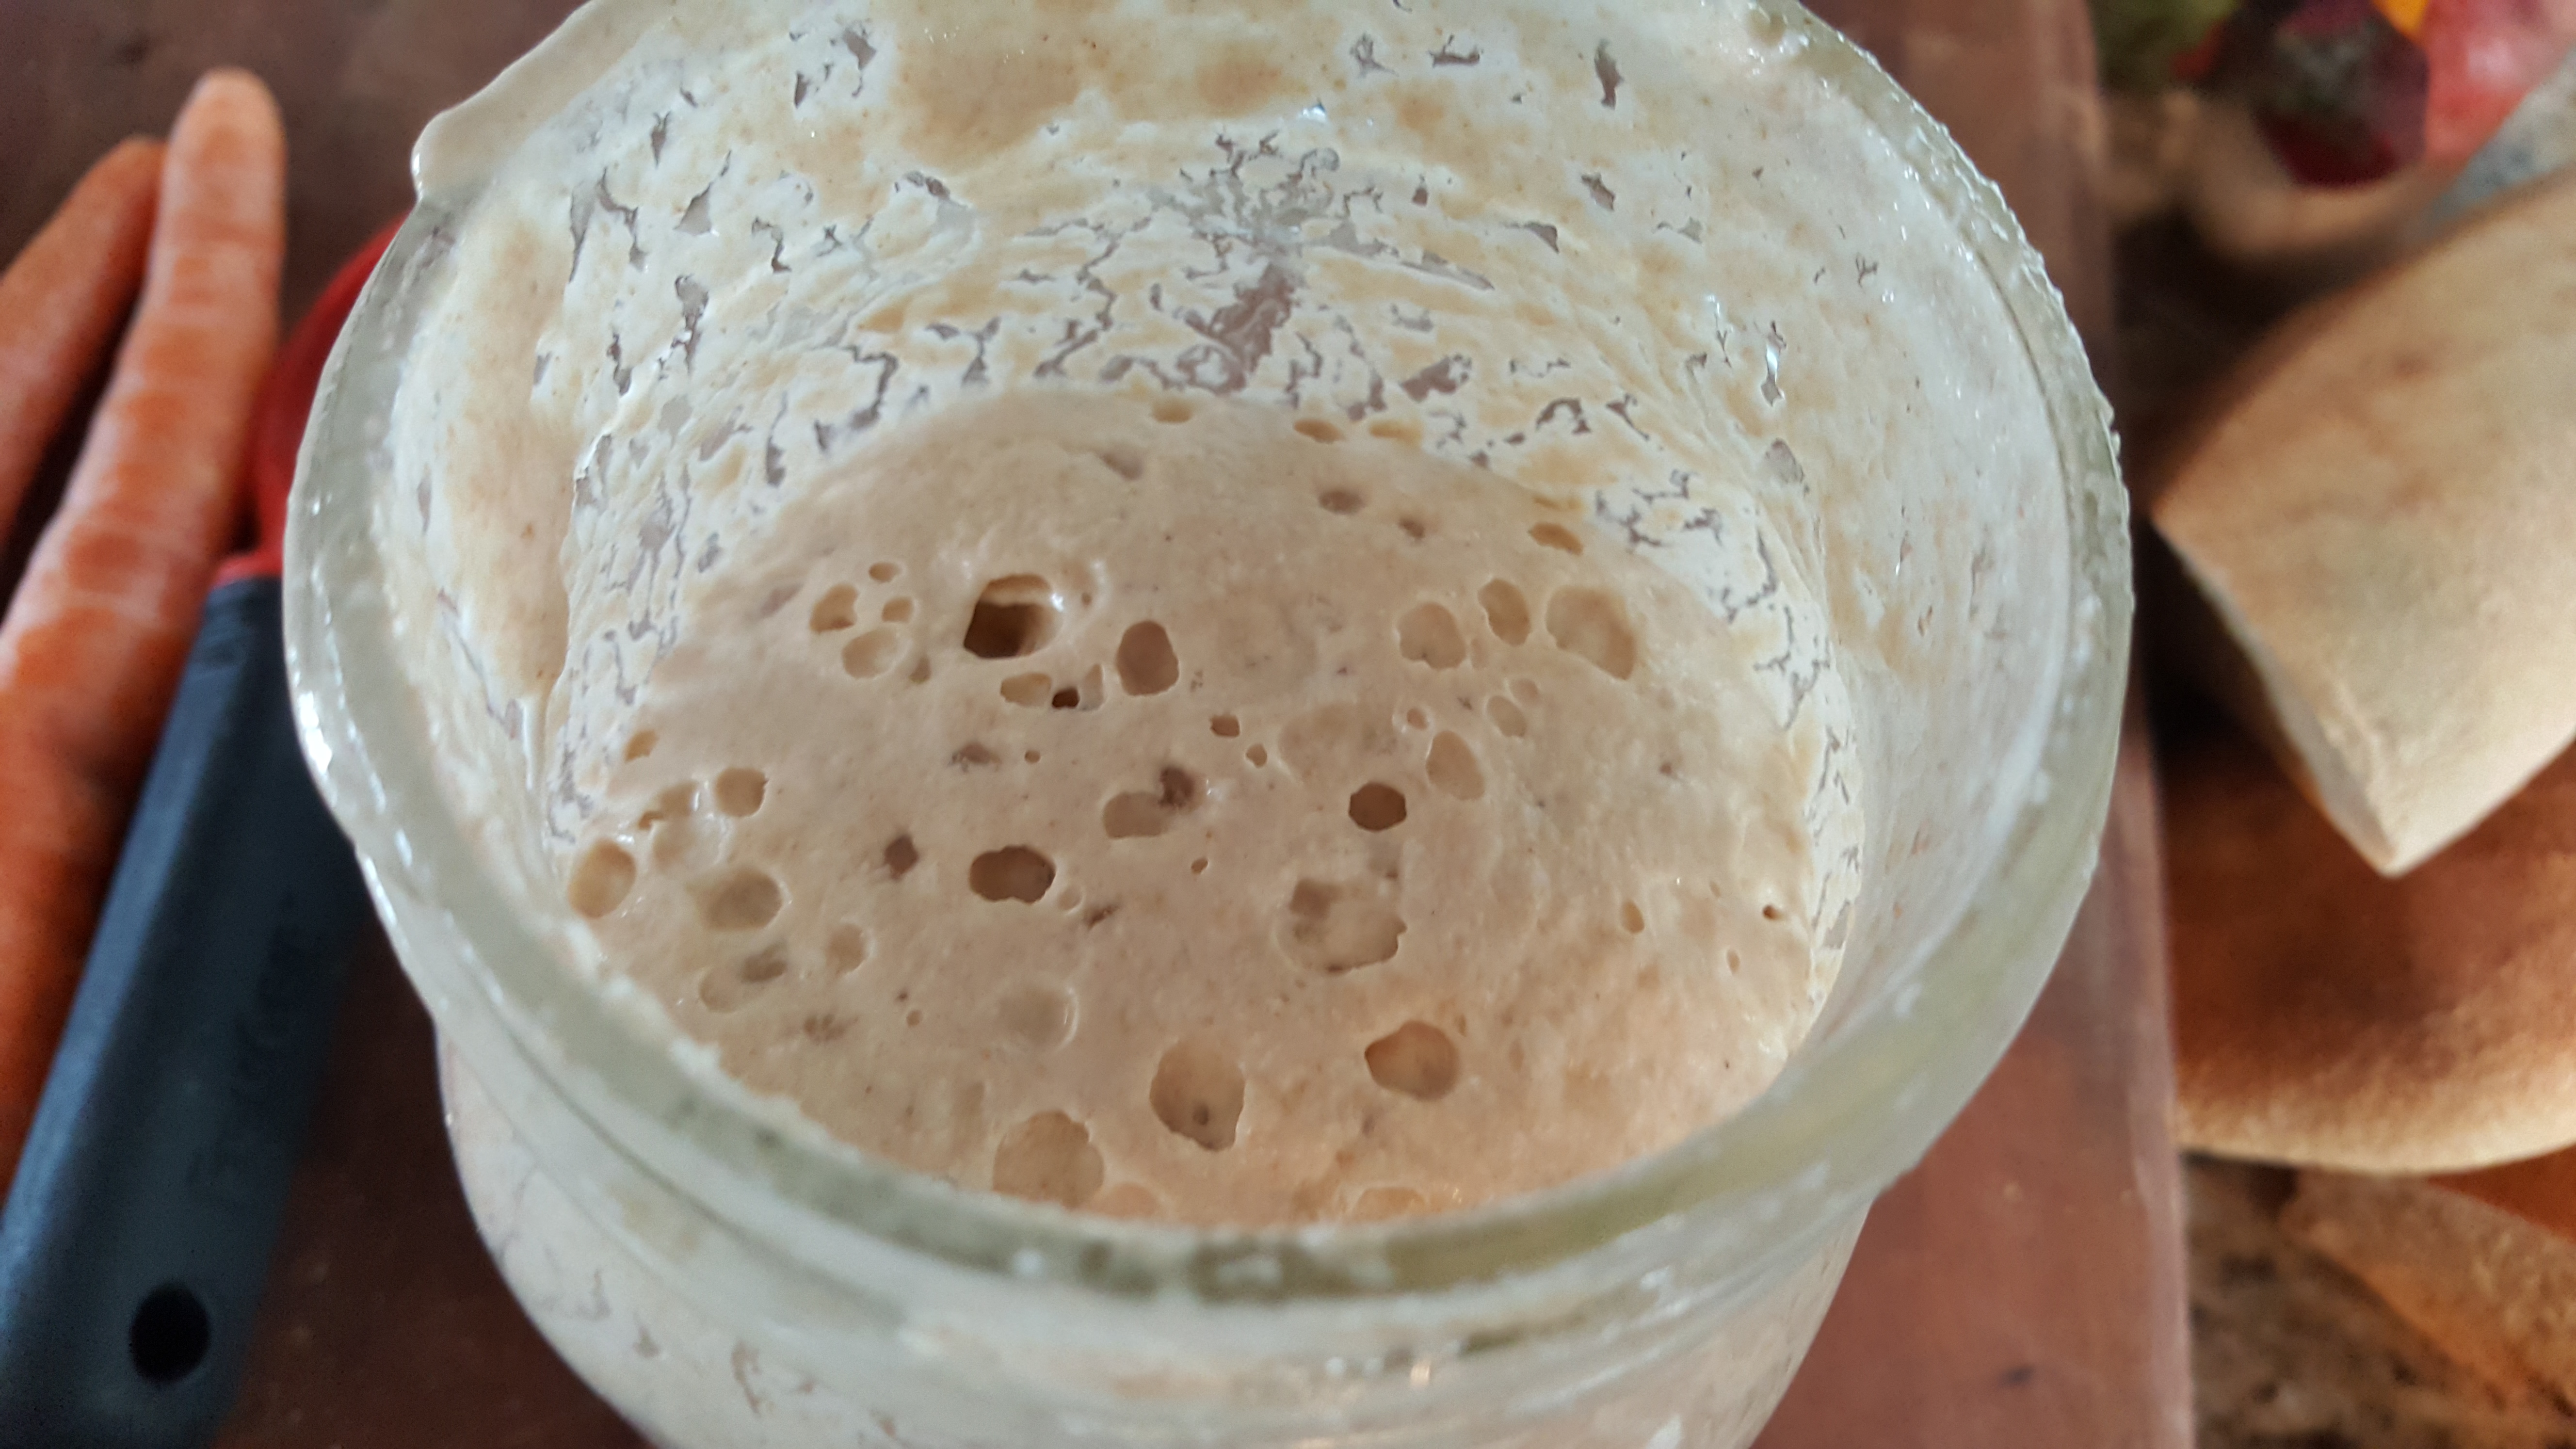
There is no perfect recipe for a starter because there’s so many varieties of yeast. The yeast in my pasture can be quite different from the yeast in your backyard, your water might be different, the ambient temperature in summer will cause your starter to be more active than in the winter, etc.
Now let’s make some bread.
I’ve got friends that bake professionally, on a large and small scale. Lionel Vatinet, Kurtis Baguley, Ryan Martin, Jenni Field. When they bake they do so with a commitment to proportions and scales. And I don’t do that. I’m not saying I’m a better baker, but I’m only baking for two, and I don’t charge my wife for the bread. Occasionally I give my bread away but if I were in a large kitchen, baking bread daily, I’d be carefully measuring every scoop of flour. I promise.

Kurtis is the one that helped me refine my bread technique. To achieve a great loaf of bread, the dough must be stretched, then baked covered and when I started out on this sourdough journey, that’s where I was remiss. So let’s start with a basic recipe that works for me, and it might work for you. Because bread is like that sometimes.
Pour about a cup of starter into the bowl of your stand mixer. I use a Kitchen Aid because Kitchen Aid gave me this one and it’s probably ten years old and still works like a charm.
Now add in about a cup and a half of warm water, body temperature warm. If your water is too hot, you’ll kill your starter. If your water is too cold, that’s not a big deal because you won’t kill the yeast but you will increase the proofing time. Yeast like a warm, moist environment so they’ll need to warm up before they start eating the sugar and flour.
Then a cup of whole wheat flour, and three cups of bread flour. Plus a tablespoon of salt and two tablespoons of honey. Or sugar, or brown sugar, or molasses. Or leave the sweetener out altogether. But keep the salt. The bread flour is important because it has a higher amount of protein, about 15%, than all-purpose, which is about 11%. And that extra amount of protein (which is gluten) is going to give you that crispy crust you’re looking for.
Using the dough hook and the lowest speed, mix until you have a cohesive ball of dough.
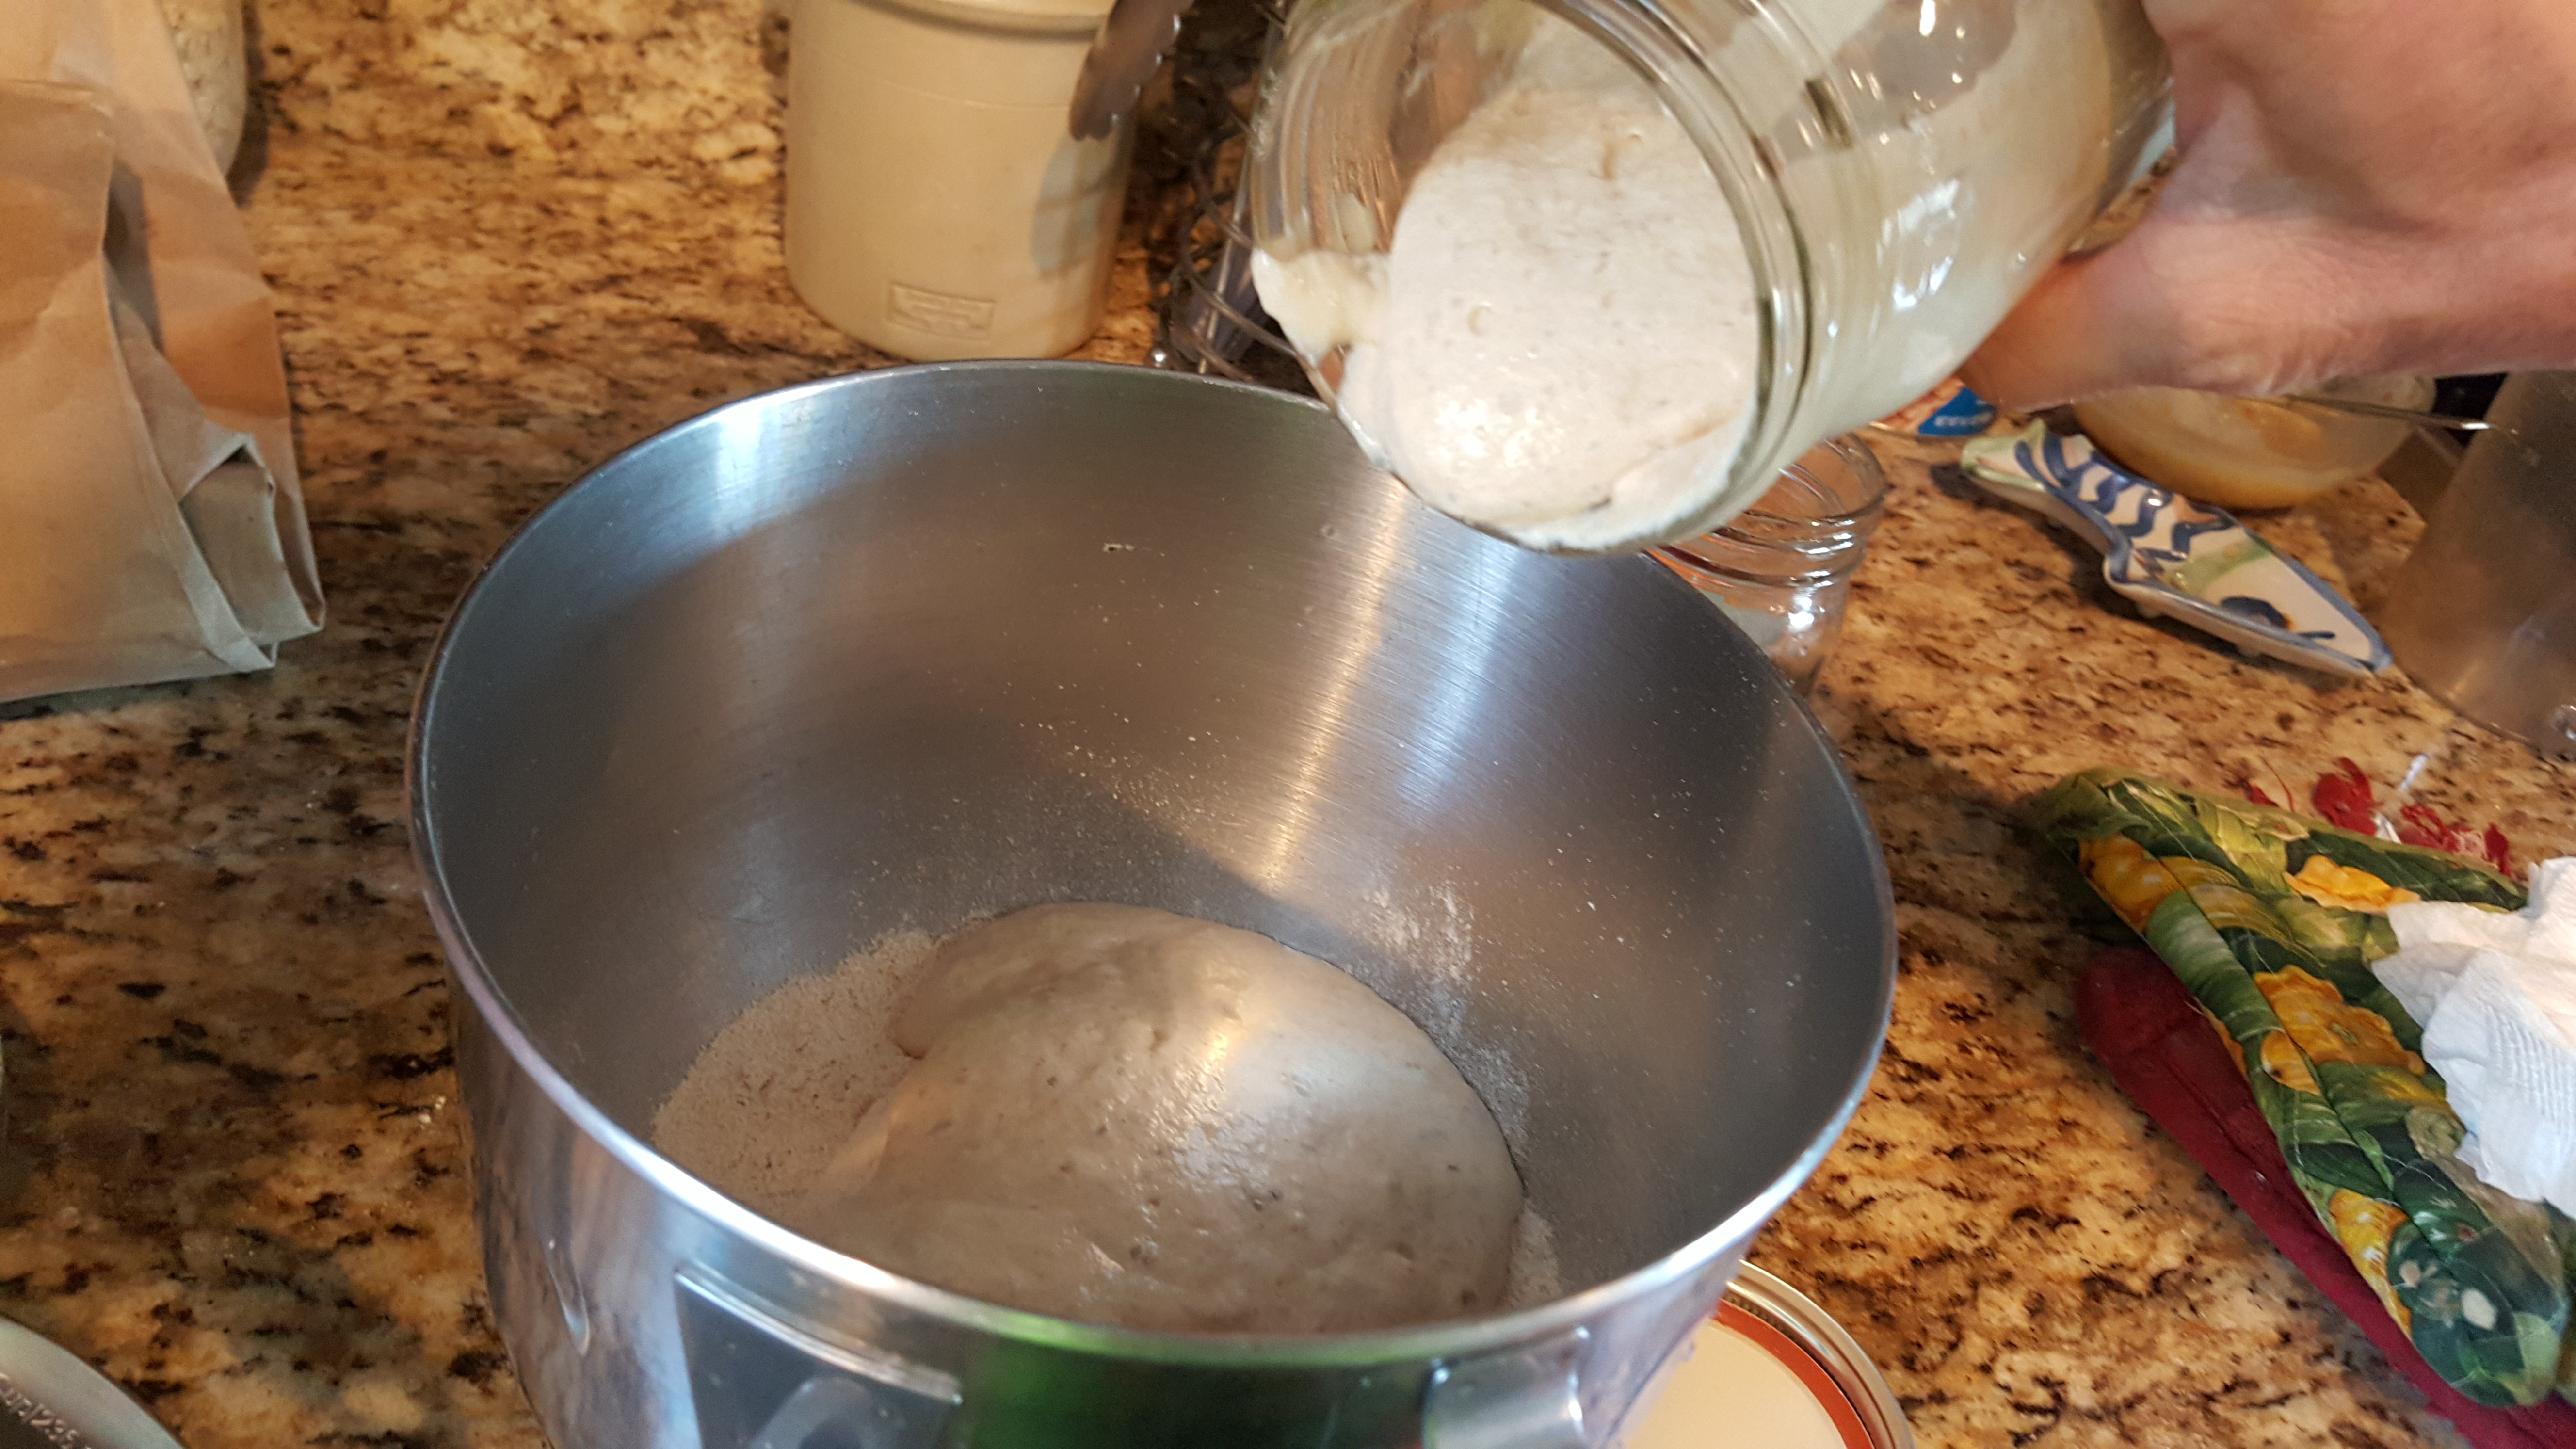
Is your dough looking soupy? Add in a bit more flour. Is your dough stiff and dry? Add in a bit more water.
Now remove the dough from the mixer, cover it with plastic wrap and leave it on the counter. For how long?
I don’t know. Maybe overnight, maybe 24 hours. You got somewhere to go? After the dough has doubled in size, put it in the fridge. Remember we’re dealing with a live substance here. If you place your dough in a cold environment, you won’t kill the yeast, only slow it down. If you give the yeast a warm, moist environment, such as the kitchen counter in July, you’ll make it happy but like any wild party, it’ll quickly burn out. If it’s late February and 38 degrees outside, leave it outside for 24 hours. A long, slow fermentation will work wonders for the complexity of your bread. Just ask any brewer or winemaker. And as a bonus, that fermentation will convert the starches into sugars and alcohol which will create that characteristic sour notes and deep flavors.
The point is to understand fermentation. And fermentation is not an exact science. Personally I prefer to ferment my bread dough for a minimum of 48 hours in the refrigerator then for another six to eight hours at room temperature.
In order to achieve an enticing crumb and crust, the dough needs to be kneaded then stretched about an hour before baking. That overlaying of the dough creates that wonderful interior. This loaf was made prior to my knowledge of the purpose and benefits of stretching. It was also shaped into a boule then baked on a sheet pan.
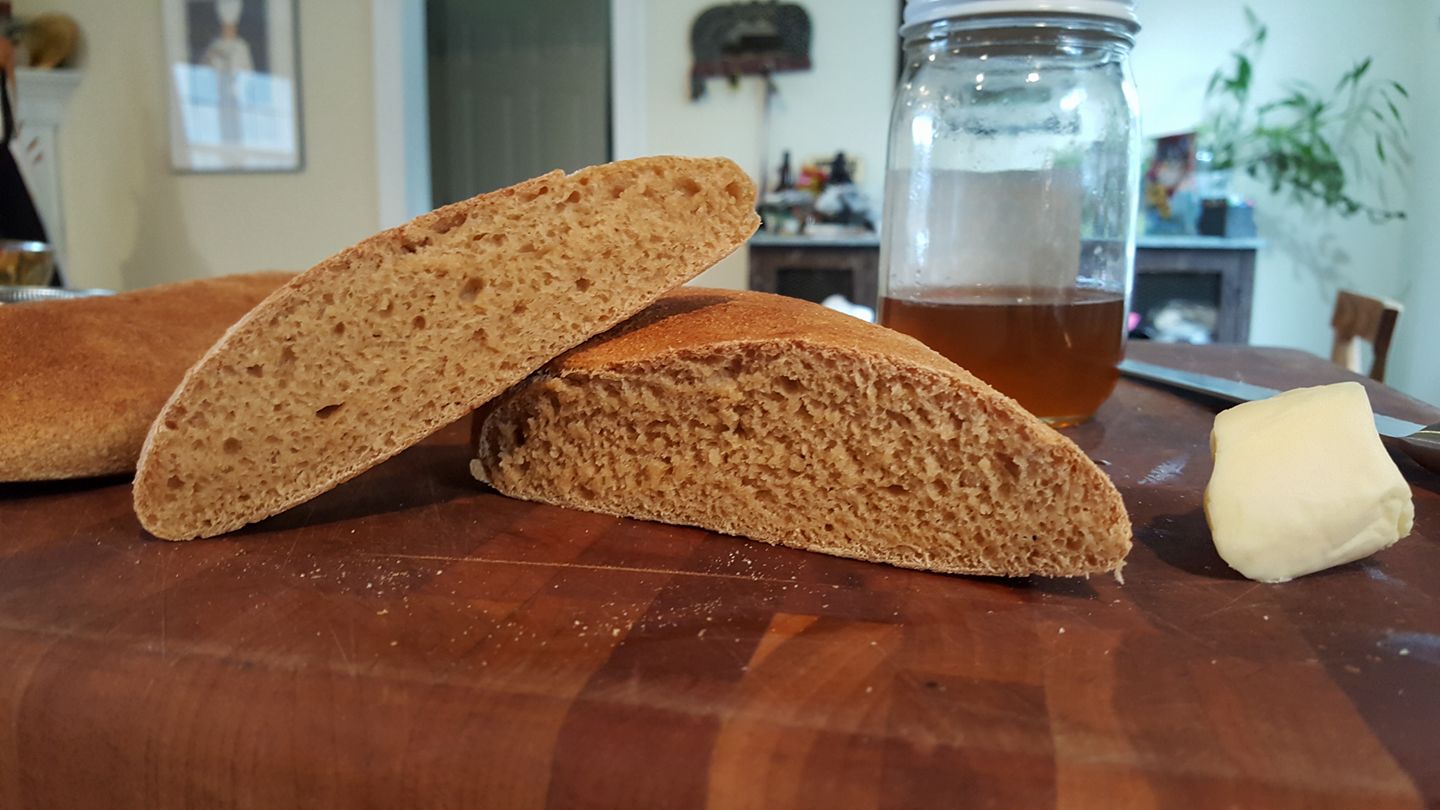
Now in order to create a crispy, crackly skin, you’ll need to bake your bread covered. After experimenting with different vessels, I found the container of my crockpot works the best, and as a bonus, one of my All Clad lids fits perfectly. I spray the inside with Pam first, add the dough, let it proof for a couple of hours then into the oven.
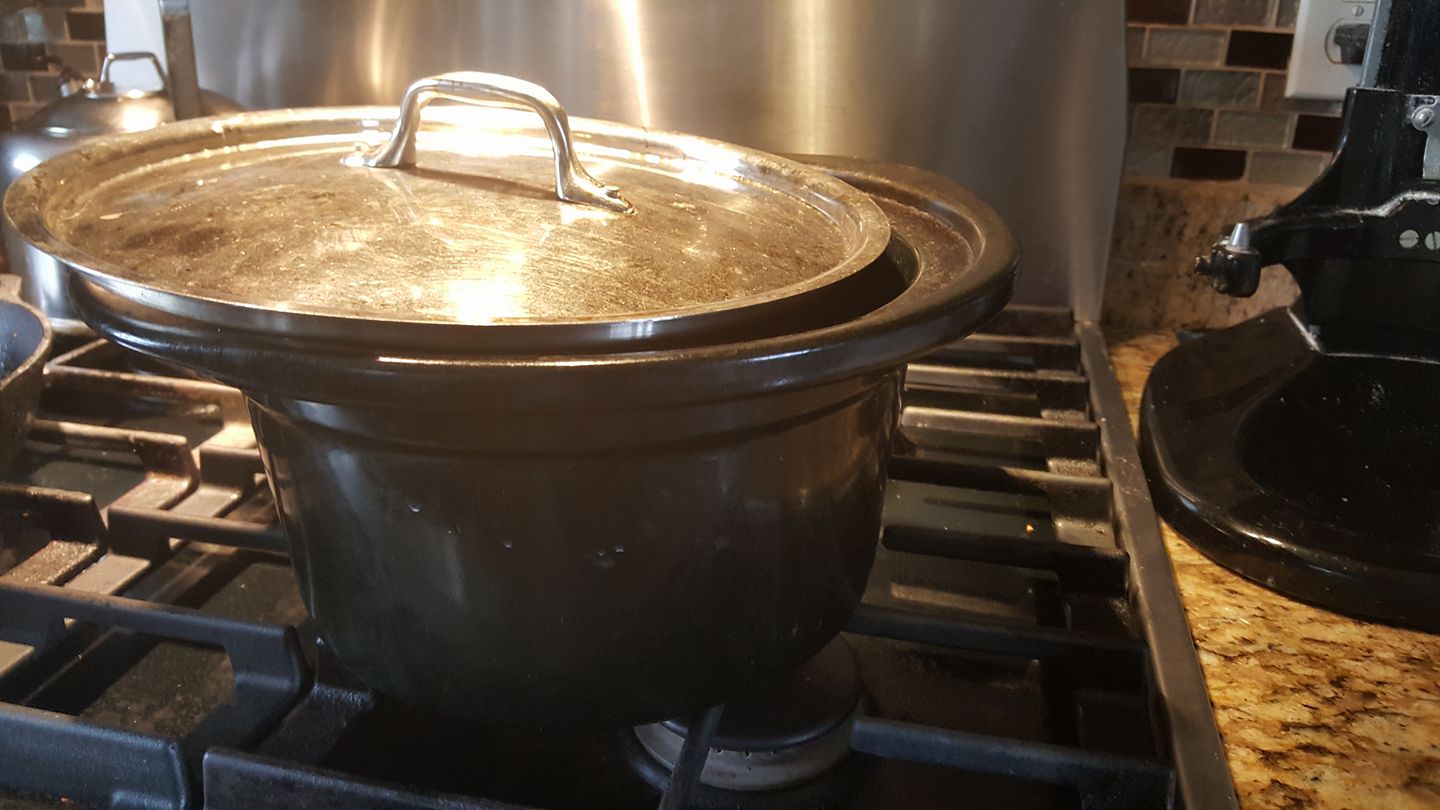
I bake the bread at 425 degrees for 35 minutes, remove the cover, then continue baking to 195 degrees. I use a Taylor thermometer inserted into the middle of the loaf.
Turn it out onto a baker’s rack and let it cool before slicing it.
Oh who am I kidding? I slice right into that sucker then slather it with butter and honey.
After months of experimenting with the starter, I used some to make a sourdough pizza, and jeez that was amazing.
And a duck egg and cheese sandwich from a loaf of rye.
Now if you’re looking for a recipe with more precision, just click here, but watch the video below first. That’s a loaf of roasted sweet potato, cinnamon, oatmeal, pecan, and honey sourdough. Once you get the hang of a basic bread recipe, you can think of that recipe as a starting point for all sorts of wonderful additions, such as pecans, and chocolate, and raisins, and basil pesto, and…

